Snowdrop propagation is a useful skill to learn, as rare varieties can change hands for hundreds of pounds. Snowdrops can of course be propagated by dividing them 'in the green' (just after flowering) or from bulb offsets. But for propagation on a bigger scale, you'll need to learn the specialist art of twinscaling.
Snowdrop obsession: Would you pay £1,000 for one bulb?
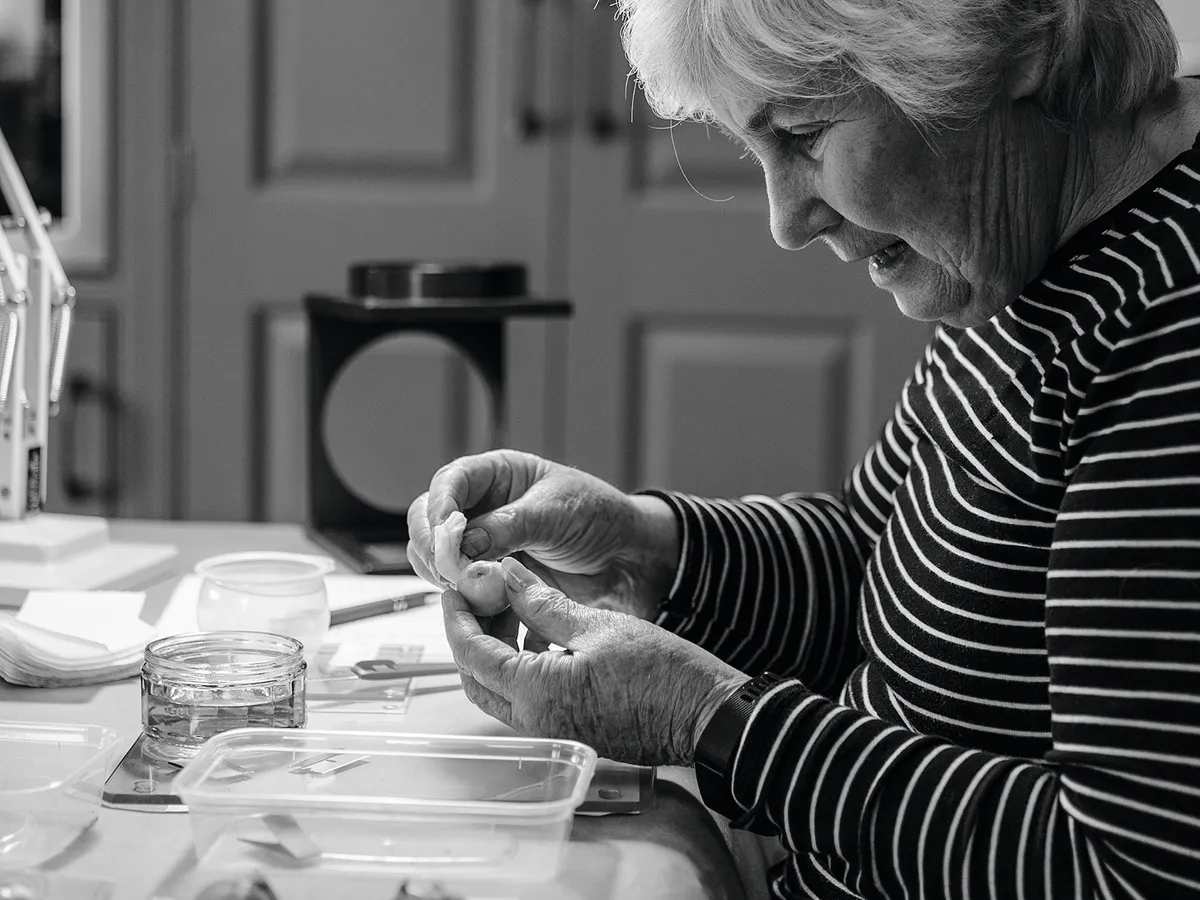
Margaret and David MacLennan introduced themselves to the esoteric pursuit of collecting snowdrops around 19 years ago. As a National Collection, Margaret and David's collection was granted Scientific Status by plant conservation charity Plant Heritage a few years ago, in recognition of the MacLennans’ extraordinary rigour in maintaining, expanding and documenting the collection, but also of their generosity in sharing knowledge and plants among other enthusiasts and institutions.
How to propagate snowdrops: step by step guide
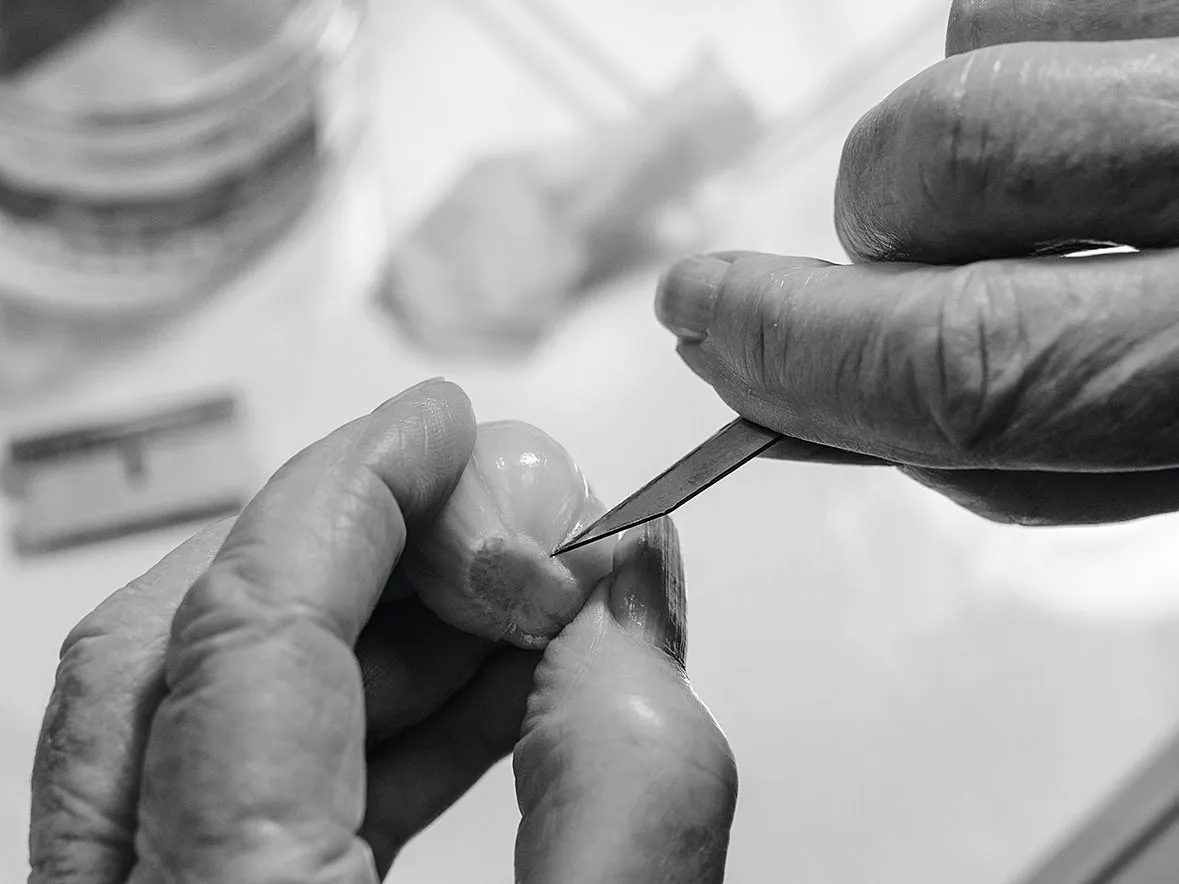
Step 1: After removing the top quarter of the bulb (cutting parallel to the root-plate), make the first longitudinal cut to divide the bulb into two equal pieces.
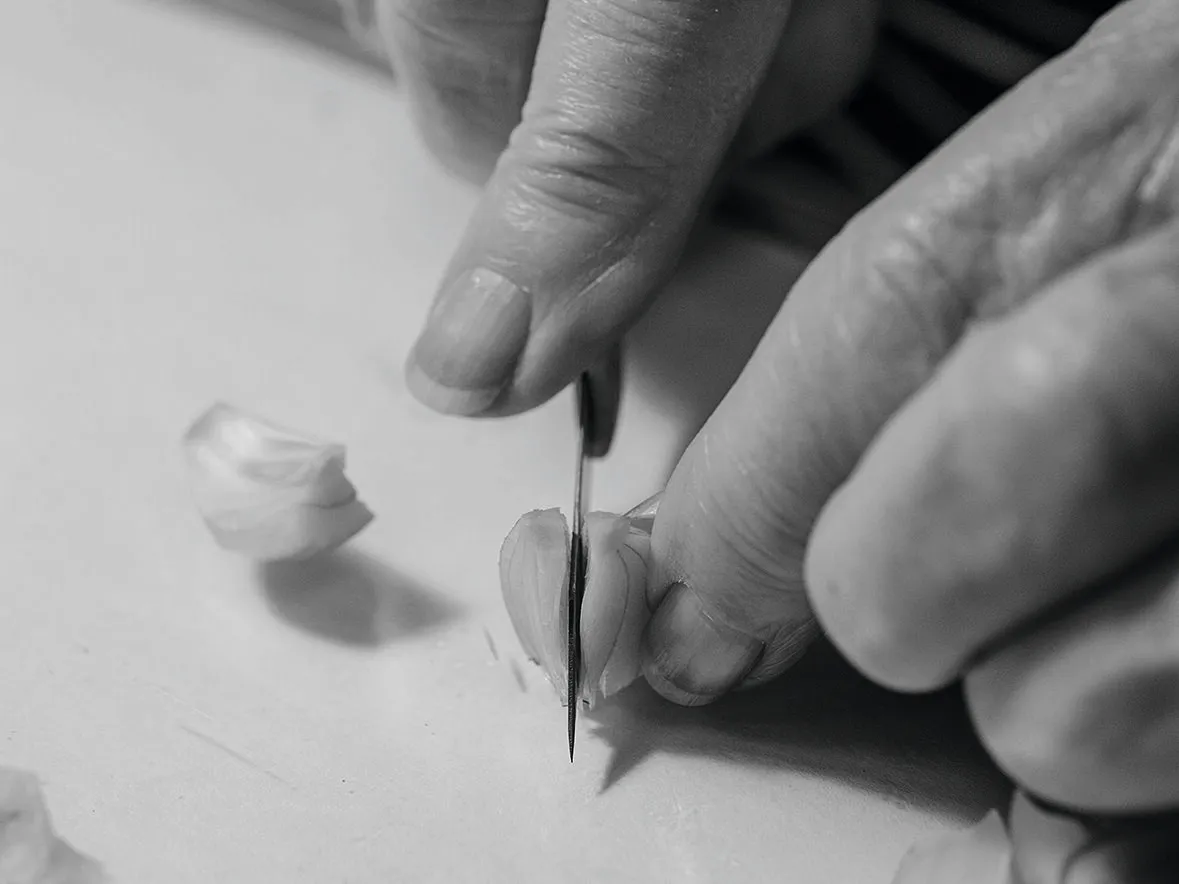
Step 2: Bulbs can be divided into four, eight, 16 or 32 equal pieces (‘chips’) of bulb, ensuring each has a portion of the root-plate attached. Margaret seldom divides a bulb into more than eight chips as smaller divisions take longer to reach flowering size.
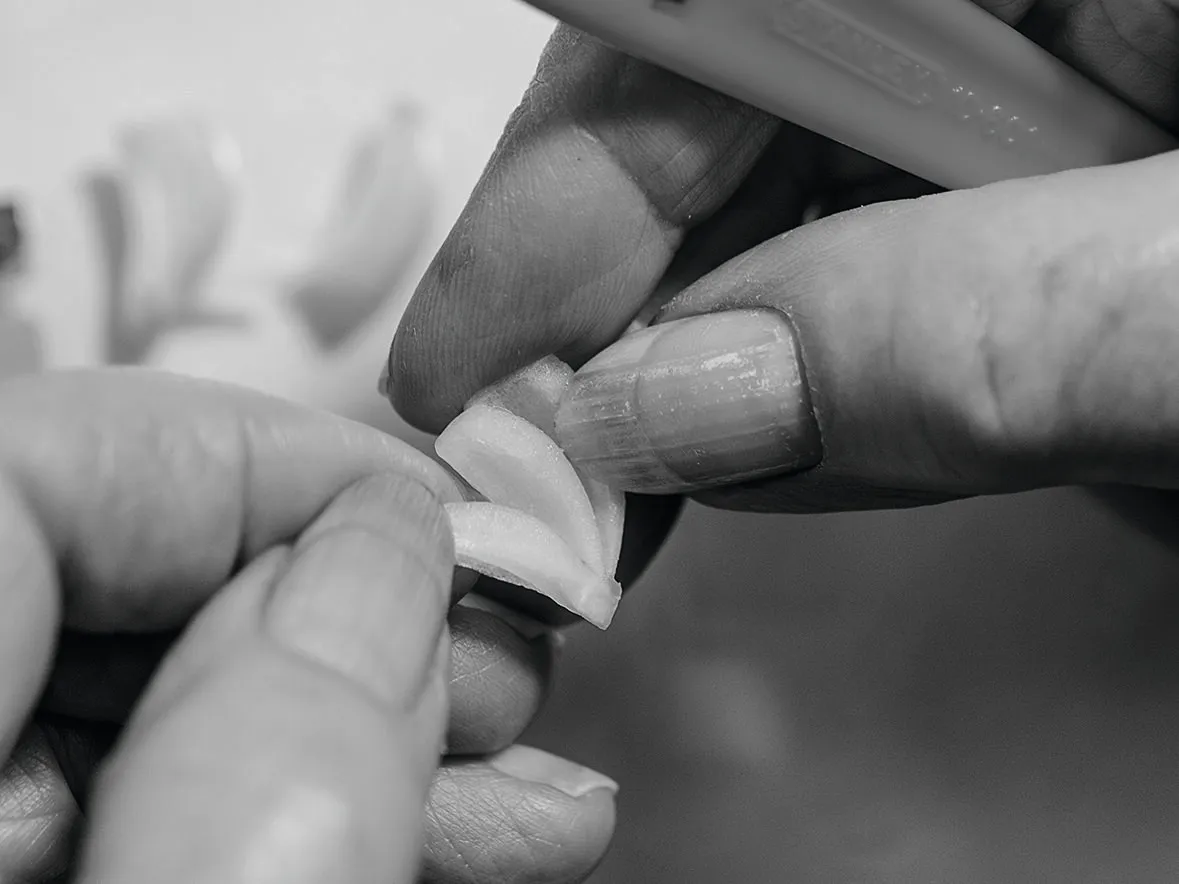
Step 3: For twinscaling, further longitudinal incisions may be made to divide the chips into separate bulb ‘leaves’ or ‘scales’, with the blade perpendicular to the axis of the ‘chip’ of bulb.

Step 4: Soak the propagules in a fungicide solution for 20 minutes and place in a sealable container on a bed of vermiculite. Add a covering layer of vermiculite then seal the box and keep it somewhere dark at 21°C. Check every few days for rot, but after 12-14 weeks they should be ready to pot up.
Propagating snowdrops: tips and secrets
Margaret's first priority on acquiring a new snowdrop is for it to reach blooming size. In its first dormant season after flowering, she cleans the bulbs carefully with methylated spirits, then ‘chips’ them by first cutting the top off, then making a number of axial incisions from the bottom to the top, to produce eight or more propagules (viable pieces of bulb), each with a portion of the root plate intact. Margaret normally stops once she has eight pieces of bulb.
It would be feasible to divide these further to an almost indefinite extent, by making further axial ‘chipping’ incisions, or by ‘twinscaling’. This involves making further longitudinal divisions, but with the knife running perpendicular from the previous ‘chipping’ cuts to separate the bulb ‘leaves’ from one another, again ensuring that there is some root plate attached to each piece. However, as Margaret points out, the smaller the propagule, the longer it will take to flower again.

The ‘chips’ are then soaked in a fungicide solution for 20 minutes and placed in a sealed container with a layer of vermiculite above and below. The boxes are placed straight into a large propagator in darkness and held at 21°C for 12-14 weeks, during which time they will all be checked every few days – pieces that show any sign of infection will be immediately discarded before the rot can spread.
Potting up snowdrops
After this they are ready for their first potting up, into 9cm square pots. These young bulbs are kept frost free for their first winter. Ultimately, flowering-sized bulbs ready to take their rightful place in the collection are housed in aquatic baskets plunged into sharp sand in cold frames – this allows the snowdrops’ annual root system to roam freely beyond the confines of the pot, while keeping all the cultivars safely segregated (bulbs tend to roam in the open ground). The ‘reservoir’ effect of plunging the pots, combined with Cumbria's high rainfall, mean that the snowdrops never have to be irrigated.

Growing on snowdrops
The MacLennans used to grow their snowdrops in a John Innes mixture leavened with grit, leaf mould and perlite, but after a successful trial they are now making a transition to bulb compost manufactured by Dalefoot Composts – an organic and peat-free compost produced sustainably in the Lake District that contains locally sourced sheep’s wool and bracken. As well as being fertile enough to sustain a pot of snowdrops without feeding for a couple of seasons, the compost is also light – a crucial consideration when maintaining a collection on such a considerable scale. The bases of the bulbs are placed on a layer of sharp sand within the compost and re-potted at a maximum interval of three years. All the propagation and re-potting must take place during the snowdrops’ dormancy, between May and September.
Useful information
David and Margaret do not hold open days, but when regulations permit they open their garden by appointment to groups only. Find details on the Plant Heritage website: plantheritage.org.uk


