Changes of level in a garden always make for a more interesting and dynamic composition – they allow views to be blocked or opened up, increasing visual drama. and are the two basic alternatives to deal with level changes in the garden.
Levels are a challenge and ideally you would avoid using retaining walls – not only are they costly, but they can really break up a garden’s flow even when planted above and below.
A sloping border allows a tumble of plants where you can play with the height of plants to create an unusual effect. Tall plants, such as Verbena bonariensis, can almost appear to be understorey planting.
There is a lot of natural run-off with slopes – they are drier at the top than the bottom, so the right plant in the right place is key. Read our piece on how to conserve water in garden design. Installing irrigation when the garden is laid out will avoid plant losses in dry weather, where watering by hand might be awkward.
Hard landscaping almost always includes a flat area of terracing – using the same material for steps makes the garden more cohesive allowing one area to fade into the next. Read on for more sloping garden ideas and inspiration.
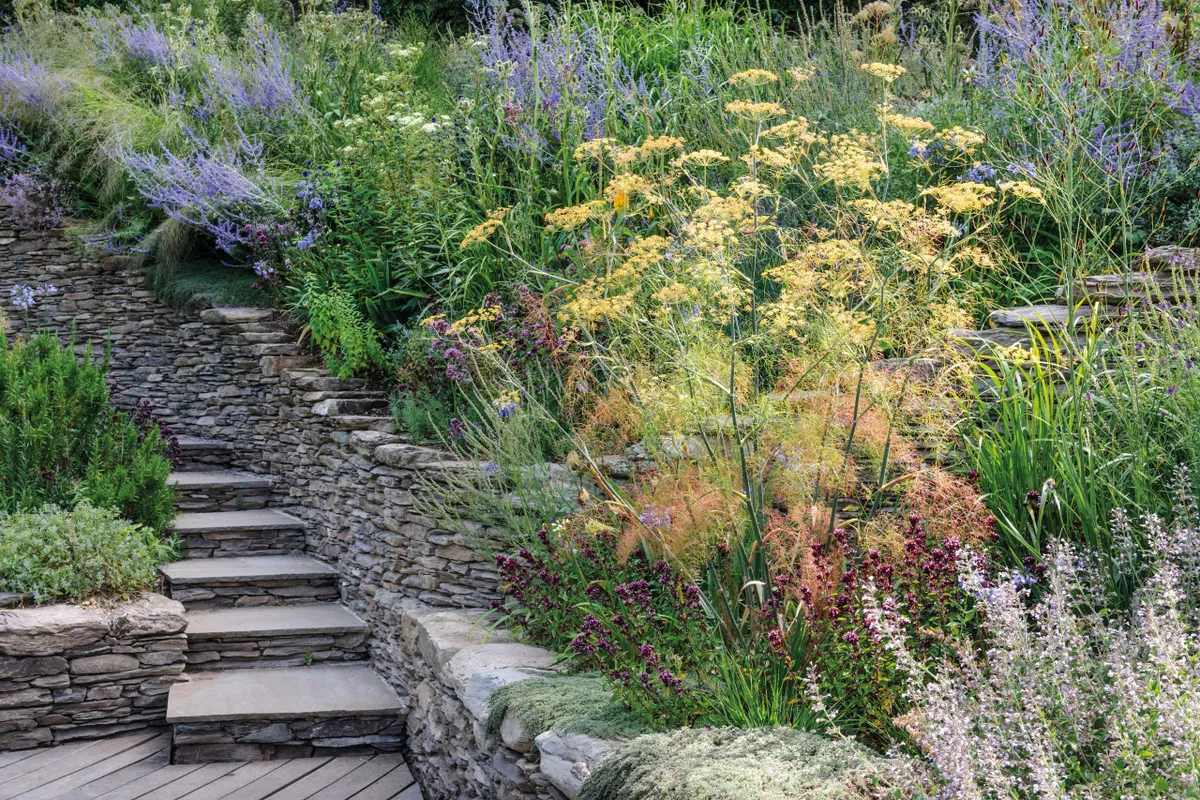
wall and flight of steps is wonderfully inviting. Carving through the slope of this garden the wall helps to display the plants, lifting them up at just the right height to reach out and touch or brush against. © Jason Ingram - © Jason Ingram
Sloping garden ideas with steps and ramps
Garden step measurements, depth and tread
Steps are the most efficient means of changing level, but many people mistakenly use indoor step measurements out of doors, where the scale is very different.
Steps consist of the ‘riser’ – the vertical face of the step – and the ‘tread’, the horizontal surface on which you stand. Indoors, where we need to climb in a more restricted space, typical dimensions are 17-18cm riser height and 22-24cm tread depth.
Out of doors these dimensions will seem mean and dangerous, creating a sense of tipping forward as one moves down the stairs. The return journey, especially in steeply sloping gardens, can prove difficult and tiring. Interior dimensions will only really work in tight spaces, for example in smaller urban gardens where decks or balconies need access to the garden level.
A general rule of thumb for garden steps is a 15cm maximum riser and 30cm minimum tread depth. This ratio produces a more relaxed angle of ascent or descent, resulting in steps more successfully proportioned to the greater outdoor scale.
It is useful to consider the steps themselves as a design feature rather than simply as a means of access. A wide terrace benefits from wide steps, preferably the same width as the terrace. It will emphasise horizontal surfaces and give the garden a greater sense of space. Similarly, if a pathway is 1.5m wide, make the steps the same width rather than creating a restriction to easy movement.
Individual treads can also be more than the minimum 30cm. If space allows, steps can be 1m deep or more, creating a much more elegant ‘going’, while also providing spaces for the display of sculpture or containers.
Safety considerations for garden steps
If you get steps wrong, they are potentially dangerous. They can also be difficult for disabled people. Well-designed steps do not need to represent a safety hazard, but there are some basic considerations. A single step is dangerous if people fail to see the change in level. If this is unavoidable consider a change of material along the edge of the step to mark its location. Lighting can also be added to identify the step from the side.
A more subtle alternative is to recess LED strips under the tread paving to shine down the riser face. This needs an overhang on the tread paving of 40mm or so – the overhanging paving will also produce a shadow line in daylight, which again marks the step. Balustrades and handrails are not a legal obligation for garden steps, but may well help anyone unsure of their footing.
Garden step ideas

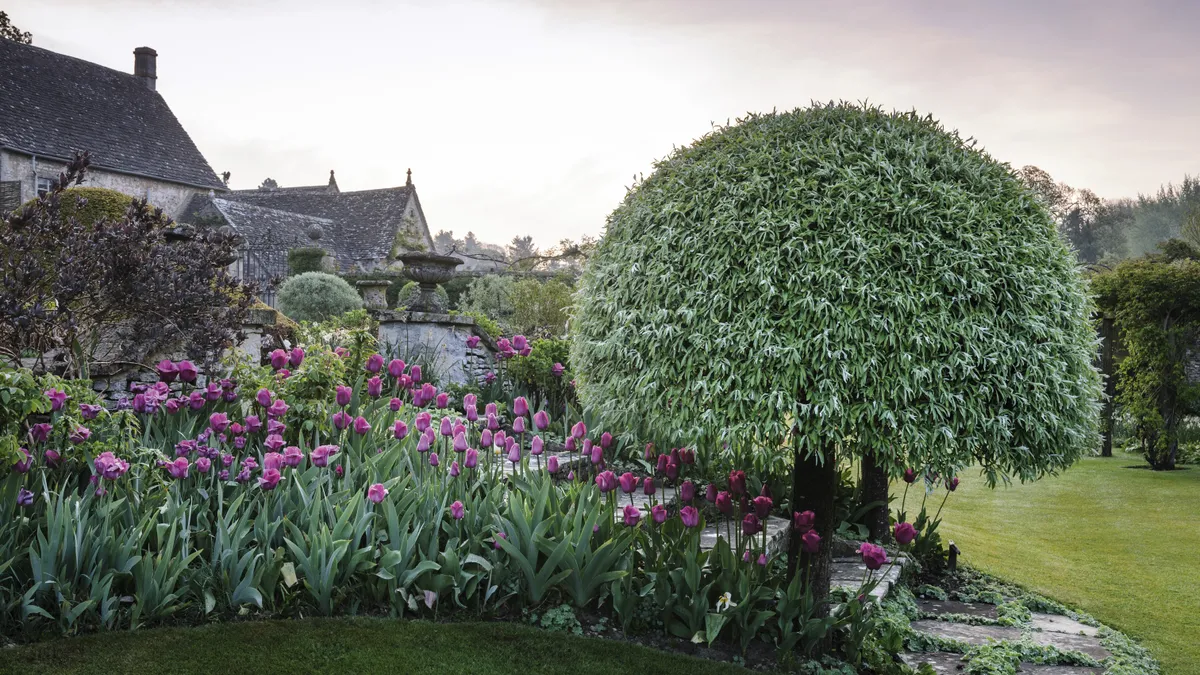
Steps leading up to a new part of this garden.
Garden ramps
Ramps represent a much safer option than garden steps, providing a smooth means of changing level. Unfortunately, they require much more space than steps to produce a gentle gradient. The accepted gradient for a ramp is 1:12 (one in 12), meaning that for every 12m travelled horizontally the level changes by 1m. This produces a workable gradient for wheelchair use. In gardens with steeper slopes the ramp becomes a major design element, which can dominate a space, leaving little room for planting. With increased consideration for mobility in the garden, and access for all to our houses, we will see the ramp becoming an increasingly common feature.
The manoeuvrability of the wheelchair dictates ramp widths and landings. Widths should be a minimum of 1.2m as a typical wheelchair is 90cm wide. Landings are required with steps and ramps to provide space to take a breather, as well as being effective places to break a fall or change direction. Have a landing every 8-10 steps and have ramps no longer than 10-12m before introducing a flat landing.
Materials
When choosing materials, think about grip – this is a priority when designing ramps, as wet or icy conditions can be dangerous. Consider textured materials such as coarse, resin-bonded gravel or exposed aggregate concrete. Stone can be flame-textured to create an artificially rough surface. Drainage of ramps and steps will also reduce puddles and slipperiness in icy conditions.
Steps should have a slight gradient of 1:60 or 1:100, with drain-runs, often called cut-off drains, across paths and ramps to take away excess water. The drain itself should be covered with a grille, which finishes flush to the paved surface.

Potential problems with garden steps and ramps
A typical hazard is created when solid paved steps are used in conjunction with loose gravel pathways or terraces. The gravel tends to move or sink with use, leaving the paving for the top step standing proud to produce a potential tripping point. It is much better to create an apron or a wide landing of paving, perhaps 1-1.2m deep, or more, which incorporates the top step.
Timber is often used for steps in country or woodland gardens, but can prove quite slippery, especially in shade. Railway sleepers are no longer available due to their heavy creosote content, but new sleeper-like timber lengths are now manufactured instead.
Granite setts may prove a better solution and the provision of a timber balustrade or handrail would be an important addition.
KEY POINTS FOR GARDEN STEPS AND RAMPS
- Try not to over-elaborate steps as people need to be sure of their footing. Also, curved or spiralling steps may look romantic, but are more complex and costly to build.
- Riser heights of 15cm maximum and tread depths of 30cm minimum are good rule-of-thumb measurements. An alternative formula is: two risers + one tread = 63cm. This would deliver a 33cm tread for a 15cm riser. To produce a close approximation of the number of steps required, calculate the change of level in your garden and then divide by 15cm. Riser heights can be adjusted slightly, but make sure that all steps are the same height.
- As treads increase in depth, the riser should reduce in height. For a 45cm tread a riser height of 9-10cm is preferable. This can be maintained for treads up to 1m deep.
- Allow steps and ramps to drain easily. It is best not to construct side walls above step height, which can hamper effective drainage and leave water standing on the treads.
- If you are planning steps for your garden, carry a tape measure and a camera with you and check the measurements of steps that you like or find comfortable to use as you visit other gardens.
- Most steps are built on poured concrete foundations. Larger step constructions will require steel reinforcement to prevent cracking.


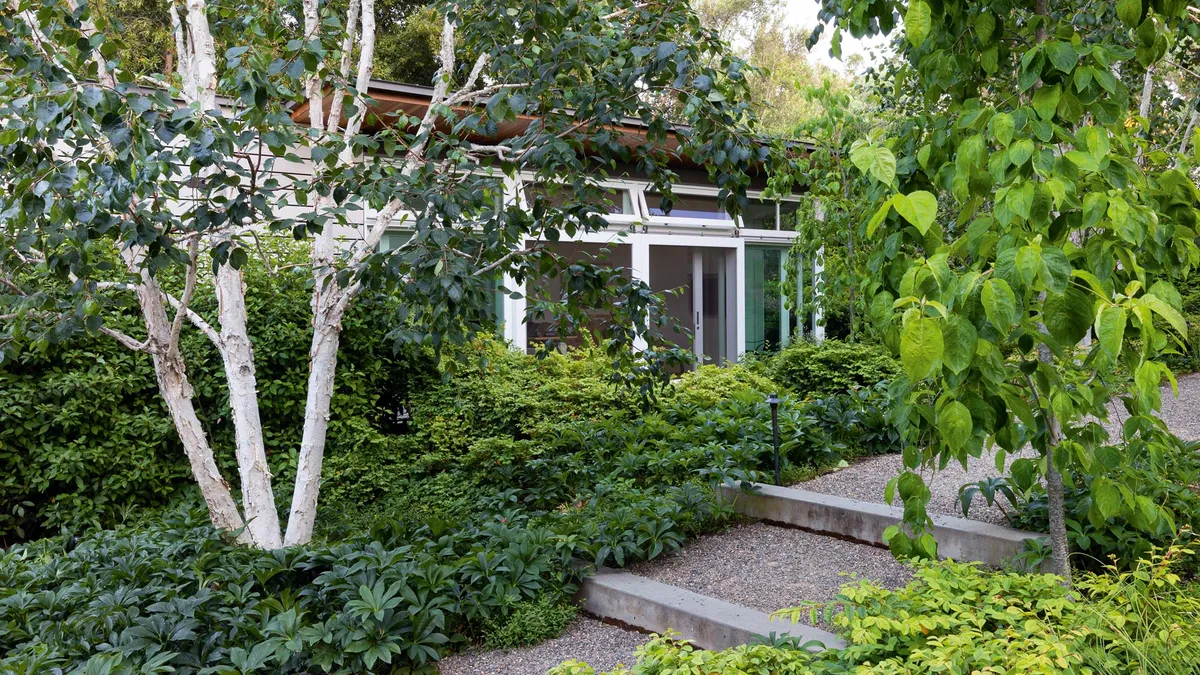
, with multi-stemmed amelanchiers and a magnolia behind.")